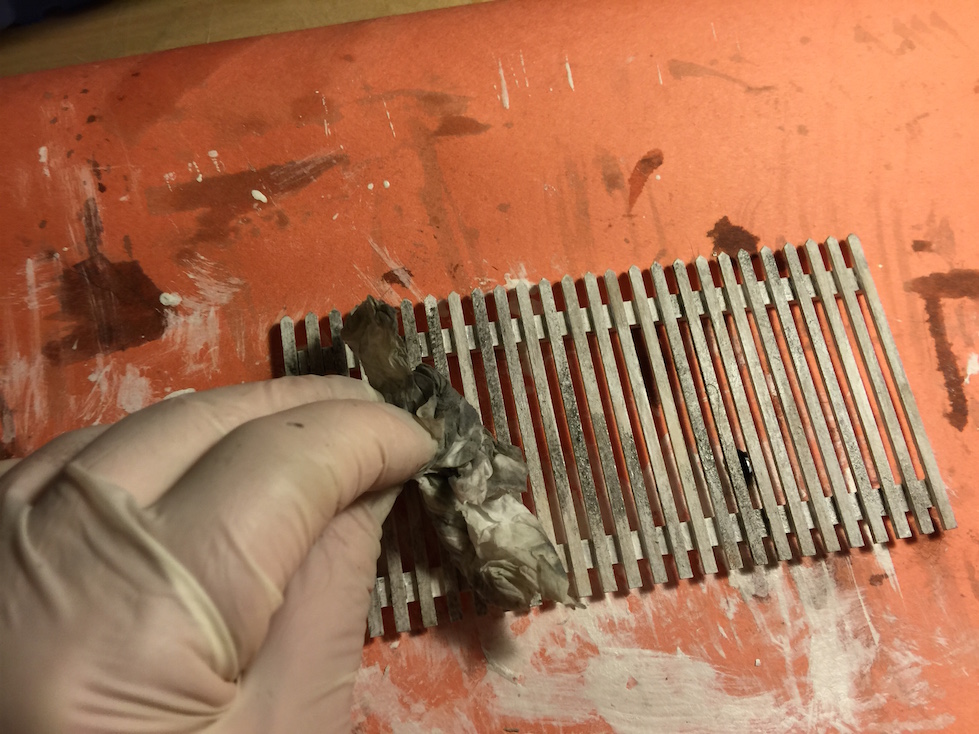
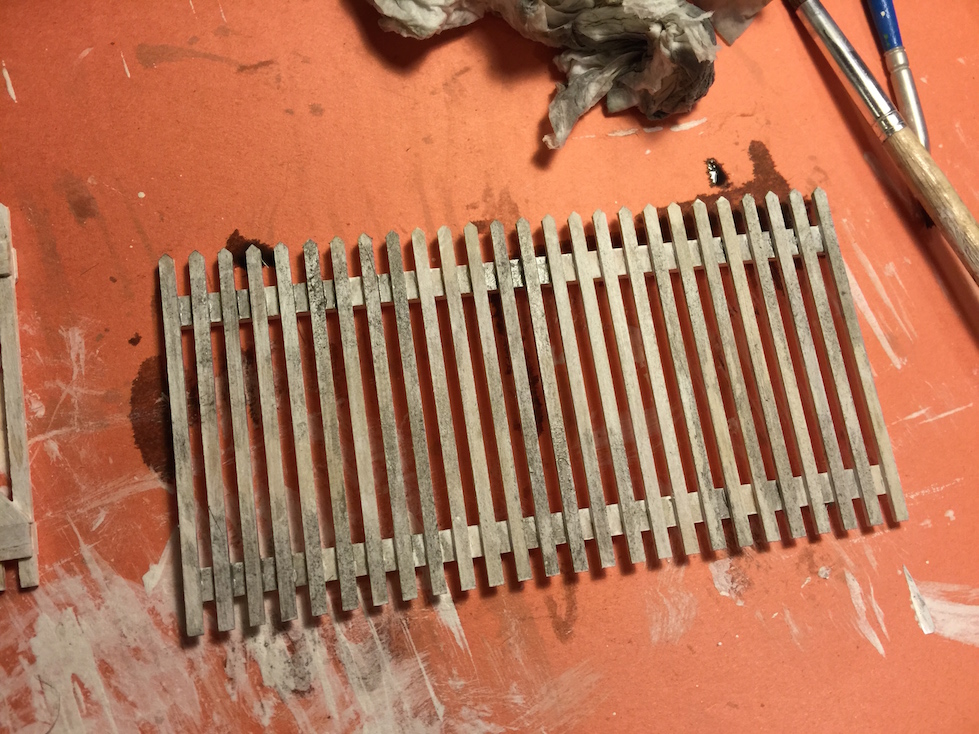
Now we will start describing structures that are going into the exhibit. Using the initial foam core mock up we constructed in July as a guide, we started assembling the various structures that make up the scene. A fair amount of this was done during the summer so that the last few months before the show is mostly spent in adding details to each structure. We’ll first start with the cathedral wall on the left side of the display. It seems that every English village that we visited had its cathedral. Building a cathedral could easily consume the entire exhibit so all we really wanted to do was suggest its presence without doing the entire structure. The plan was for a wall, presumably the side wall, with a small entrance and one window. We also wanted to attach a partial ruin sort of like a flying buttress off the side with an opening to a church graveyard in the back. For my structures I use Gatorfoam. While it looks like foam core it is much more rigid and does not warp. This is important since I will be applying various materials to the surface, such as joint compound, and I don’t want the underlying structure to warp. I start by cutting the appropriate size piece of Gatorfoam and cut out the window and door openings. Since this is a cathedral one wants to give the stonework a more massive look so I glued on pieces of blue insulation at the base and around the window opening. The surface was then covered with Sheetrock universal joint compound (Home Depot). I do this with a spatula and try and make it a smooth as possible. You will never get it perfectly smooth but that is OK because most stone work is not perfectly smooth either. Let the joint compound dry for at least a day; it should be quite hard by the time you work on it. If there are some serious imperfections just take sandpaper to it and smooth it out, or if there are holes just add some fresh compound and smooth it on. Once the surface is to your liking you can carve your stonework. I usually use an awl. With the stonework carved, the surface can then be painted. I use very inexpensive acrylics such as Dreamcoat to paint these structures. I might start with a light base color of sandstone and then gradually darken individual stones with washes of charcoal or dark burnt umber. You can use washes over the entire surface that help blend the stonework since you don’t want it to look like a checkerboard. You can also use these washes to put some streaks down the building as with rainwater was washing dirt down the sides. At the roof line I crenelated the wall to add a little architectural flourish.
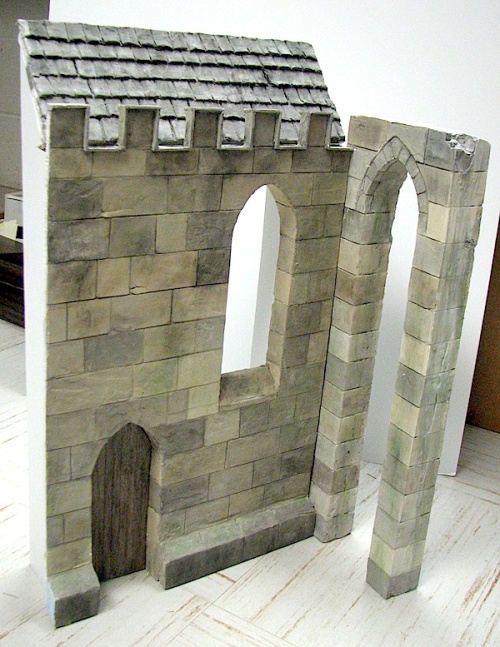
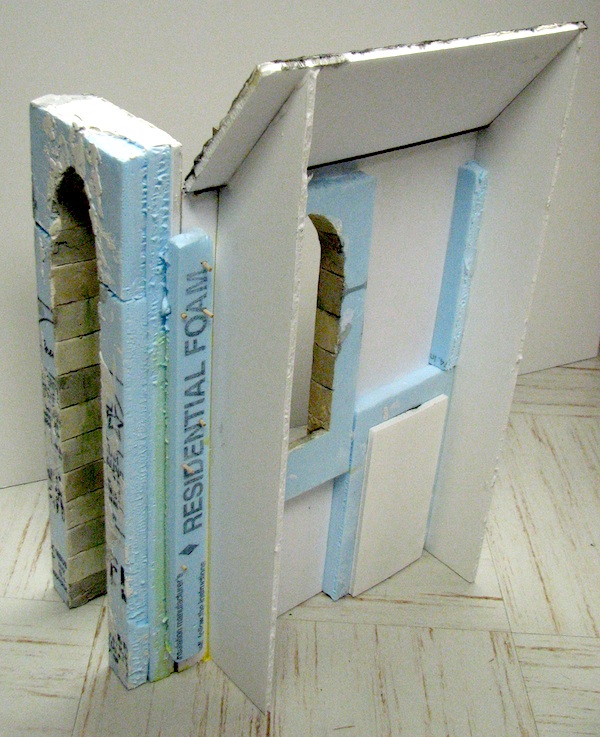
One thing that I haven’t mentioned is that these Flower Show exhibits are more like theatrical sets than true miniatures. People will only look at these displays through a window so it is certainly not necessary to model and paint things that people would be unable to see. The next picture shows what the cathedral wall looks like from the back. Not pretty but who cares, no one sees it.


You must be logged in to post a comment.