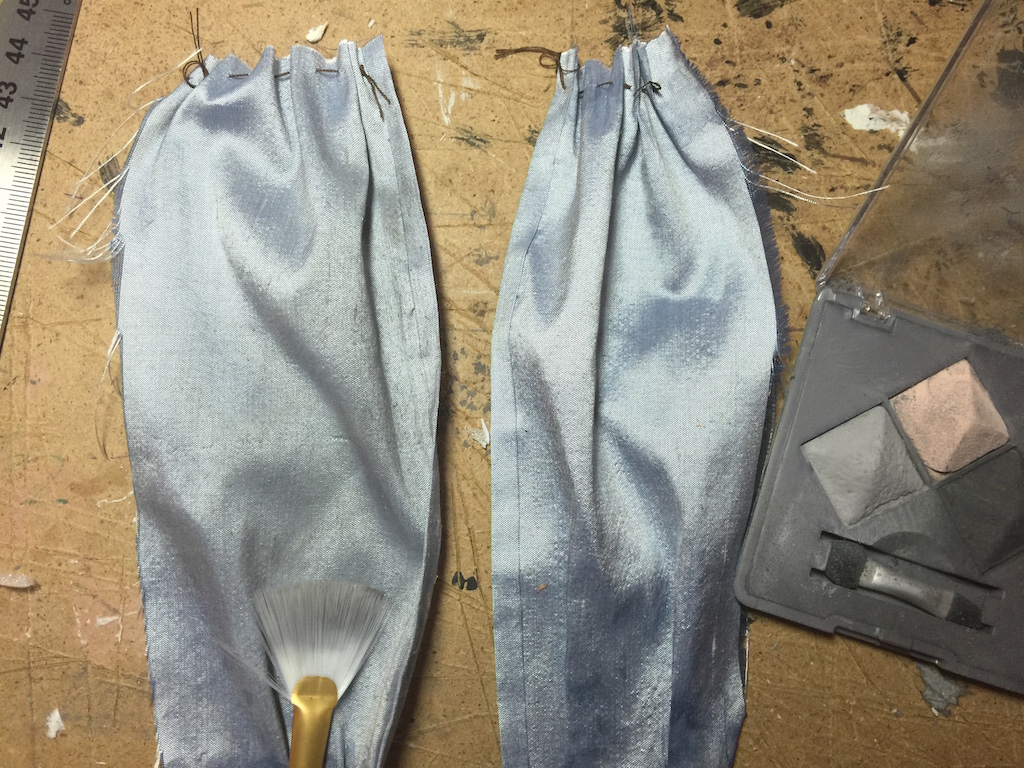
Even those beautiful silk curtains need to be dirtied up if they are hanging in a city scene. Flat eye shadows (go to your favorite dollar store for these) and a soft brush work perfectly.
Even those beautiful silk curtains need to be dirtied up if they are hanging in a city scene. Flat eye shadows (go to your favorite dollar store for these) and a soft brush work perfectly.
I have tried out many different products to get a crackle effect on miniatures but most of the products (like the Martha Stewart crackle paints) require a thick and heavy layer that simply won’t work with miniatures. So I found a website which explained how to use Elmer’s glue (or an inexpensive equivalent) to make crackled paint. But while I was experimenting with crackling, I found a new use for the glue which was to create a peeling paint effect. I’ll explain the crackling technique quickly since I ended up not using it and then I will show the paint aging technique.
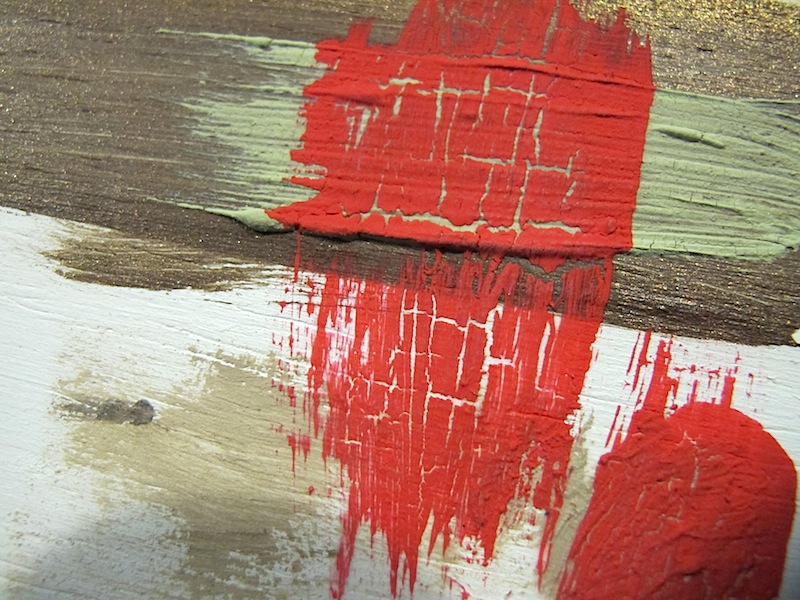
To create a crackle effect, paint your object with a base layer of the color you want to show through the crackle. After it dries, paint a coat of Elmer’s glue on the surface: thin for light crackling, thick for heavier and bigger cracks (apparently the new extra-strength glue is not as good for this as the old formula but it worked for me). Let the glue dry so some of the surface looks flat rather than shiny and it feels sticky, not wet (I used a hair dryer to speed the process). Next paint on a thin or thick layer of your next color, right on top of the glue. When this layer and the rest of the glue dries, it will crack and show the other color through. In the photo below, the red is the cracked layer painted on top of the glue. Coat the whole surface with a matte varnish or spray if the paint starts to flake off.

While I was playing with crackling I developed the technique that gave me these aged wood finishes.
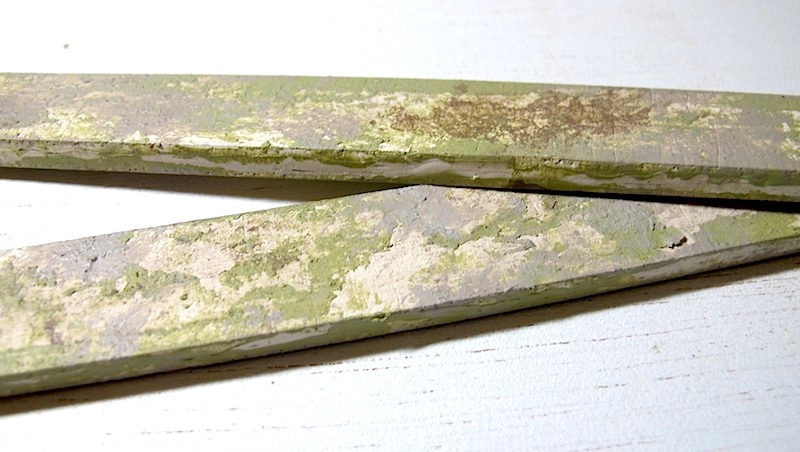

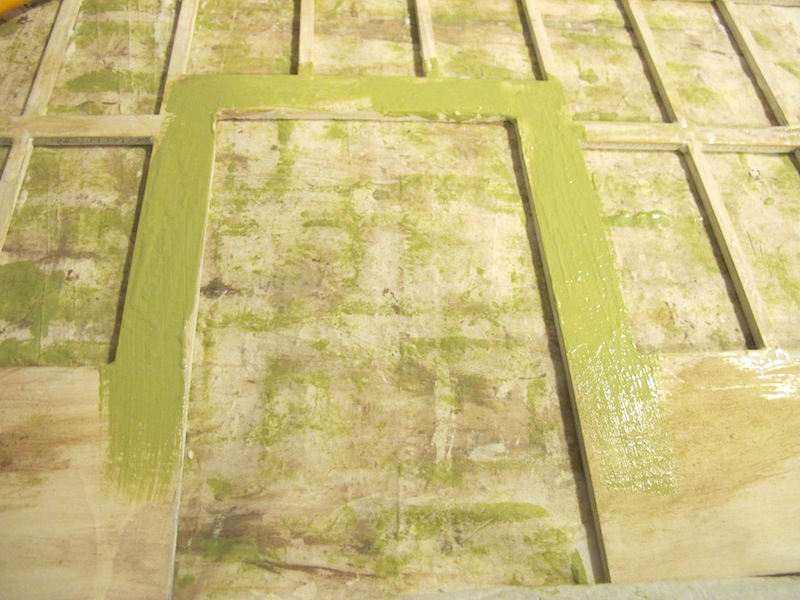
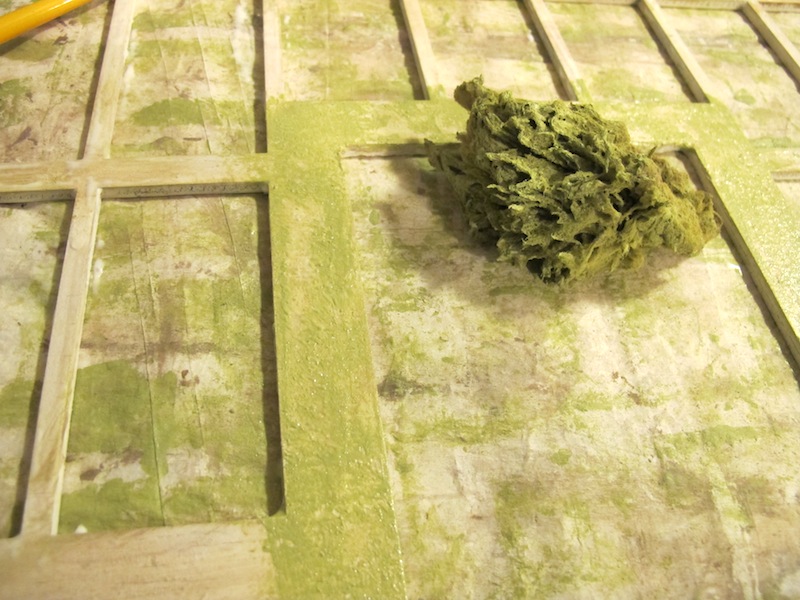
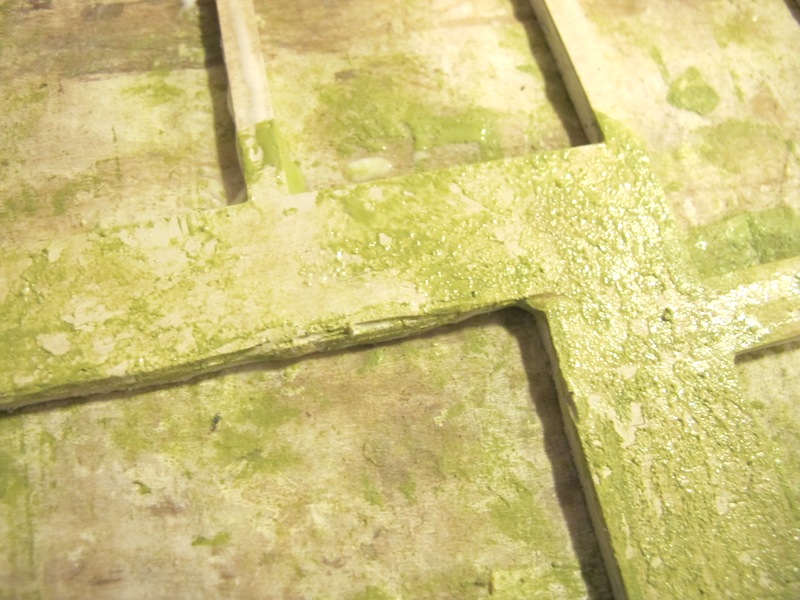
Start again with the base color. The boards on top in the pictures above have a light base color and the ones below have a dark base color. You can see the difference this makes. After the base coat dries, paint on glue and let it start drying until it is tacky and almost dry in some places but still wet in others. Paint a second color on top of this glue layer. Let the paint layer dry slightly and then use a natural sponge to pick off paint in different areas dabbing it up and down on the surface.. Not only will this reveal the under color unevenly but it will also raise bits of paint. When these bits dry, they will look like peeling paint. To me, this looks better than just adding sponged colors on a surface because of the added dimension to the surface that it gives. Let all this dry thoroughly and you can do another color by adding another layer of glue, another of paint, and sponging that off, too.


You must be logged in to post a comment.