Rik Pierce Workshop

Rik Pierce Workshop

Pam Goldman and I were students for 4 days in a workshop taught by Rik Pierce before the Philadelphia Miniaturia show .

First, a selfie with Pam and Rik (who is the most patient teacher I have ever met).

selfie1

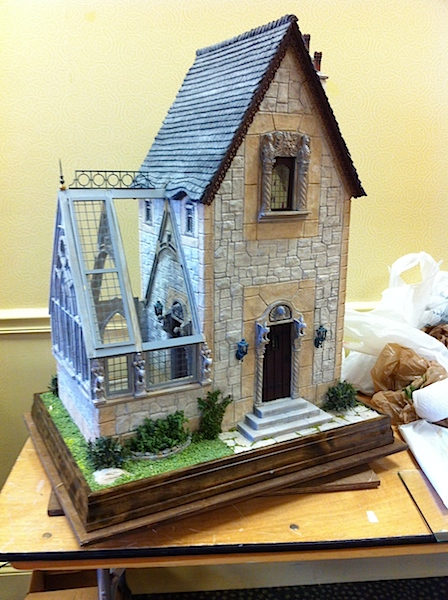
We were all building this structure: a medieval hunting folly with a greenhouse attached. Here is Rik’s description of it:

In the 17th and 18th centuries the Landed English would build their ideas of what  structures in the  Middle Ages looked like. Needless to say their interpretations could be rather fanciful. Our Hunting Lodge would be on a large estate and be used for visitors and guests. It is adorned with Gargoyles and carvings and sumptuously appointed and has a glass Conservatory .

The building should look like this when we are done (most of us did not finish it in 4 days). There was a lot of room for individual interpretations.

IMG_3453 copy
The Hunting Folly
IMG_0246 copy
Details of the exterior
IMG_0205 copy
First floor interior detail
IMG_0212 copy
Stone wall detail

The workshop was intense and we were always busy.

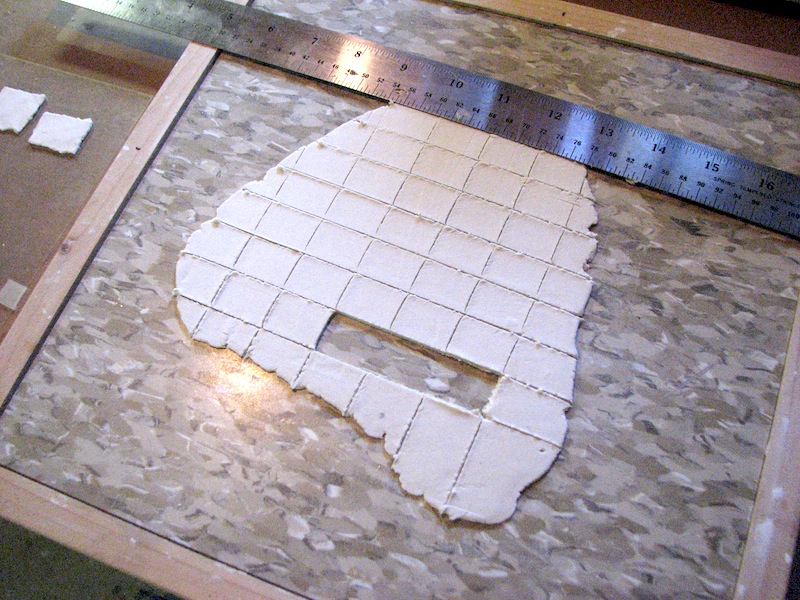
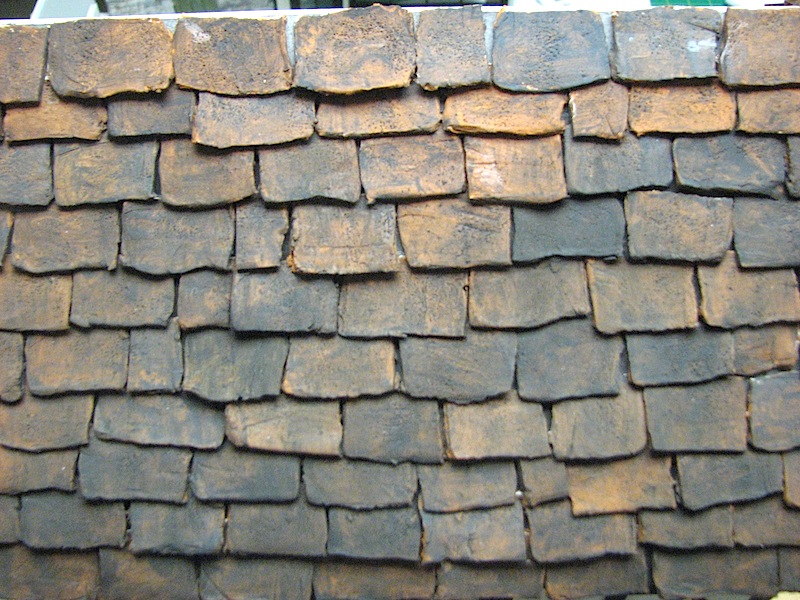
We learned a wide range of skills including making paper clay stone walls, wiring, painting techniques, flooring, aging walls and wood, and general construction techniques.

IMG_0202 copy
Learning to use paper clay to make stone walls
IMG_3451 copy
A wiring demonstration
IMG_0239 copy
Fitting the leaded glass window
IMG_0230 copy
Dirty water painting technique
IMG_0232 copy
Detail of wall painting
IMG_0227 copy
Construction techniques
IMG_0215 copy
Cleaning the grout lines

The other students in the class were always willing to share their knowledge and help out when someone got stuck.

IMG_0224 copy

Thanks to Rik Pierce and the participants in the workshop for a great time.

IMG_0263 copy
Class picture on Halloween
GUEST BLOG: Roofs by Ron Hoess

GUEST BLOG: Roofs by Ron Hoess

All of the structures needed some sort of roof.  There are various products on the market for roofing material from plastic sheets depicting shingles to individual wood shingles.  None of these really were what I wanted. Aside from the iconic thatched roof which I didn’t want to get into,  many of the older buildings in England had either tile or slate roofs.  After reading an article in Dollhouse Miniatures by Rik Pierce on using Paperclay for shingles, I decided to give it a try.  I rolled out my Paperclay using some tools that I got at a Rik Pierce course I took in 2008.  Basically it is a 1 1/2” diameter solid plastic dowel (my rolling pin) and a linoleum tile set in a wooden frame.  The tile is 1/16” below the surface of the frame, so when you have rolled the Paperclay out it will be at a uniform thickness of 1/16”. I should say this is just one of the many things one learns when taking a course with Rik, a teacher par excellence.

roof1

After experimenting I finally settled on cutting out each individual shingle and the then taking a shaping tool and flattening the tile to thinner than a 1/16”.  On the left side of the picture you can see a couple of these tiles, and the tile no longer has the perfect rectangular shape of the cut out piece.  After all the shingles are cut out I take a very stiff bristled brush and repeatedly press it down on each shingle to give it some texture. The shingles are allowed to dry overnight.

roof2

The next day, before I glue them to the gator foam roof, I paint the shingles.  I also paint the gator foam roof black so that any little gaps between shingles won’t show up as white. For the Cotswold cottage, which in real life had a slate roof, I painted the shingles varying shades of charcoal (you can just vary the intensity of the color by diluting the acrylic paint with water).  The pub roof has clay tiles so I first painted all the shingles with terra cotta.   After letting them dry, I came back and painted over them with black and dark burnt umber.  What I wanted in the end is a basically dark roof with a hint of the underlying clay.  After the shingles, or I should say tiles, are painted I glue them to the roof starting with the bottom row and then slightly overlapping each successive row.  Also one needs to stagger the register of each row. Now that a roof is over our heads we can go inside and start working on interiors.

roof3